Installing the VoIPDB in DSX-80/160
Additional Feature Information
How to Install the VoIPDB in DSX-80/160
1. Power down the system and remove the cabinet cover.
-
Following the guidelines in the system Hardware Manual, power down the system by
turning off the Main Equipment Cabinet power switch.
-
Remove the cabinet cover.
2. Remove the CPU Card and Install the VoIPDB.
-
Be sure to take adequate anti-static precautions.
- You should always wear a grounded wrist strap when installing or removing DSX cards.
- Be sure the wrist strap is attached to a known electrical service ground (such as
the earth ground lug on the cabinet).
- Discharge any built-up static electricity by touching a ground point.
-
Remove the card bracket that secures the CPU card to the cabinet.
-
Carefully remove the CPU card and place it on a flat, anti-static surface.
-
Install the plastic stand-offs.
- There are four plastic stand-offs included in the package with each VoIPDB.
- Following the illustration below, snap the stand-offs into the CPU card.
-
Following the illustration below, snap the VoIPDB into the CPU card.
3. Reinstall the CPU Card and Power UP.
-
Slide the CPU card back into the Main Equipment Cabinet.
-
Reinstall the card bracket.
-
Reinstall the cabinet cover.
-
Power up the system.
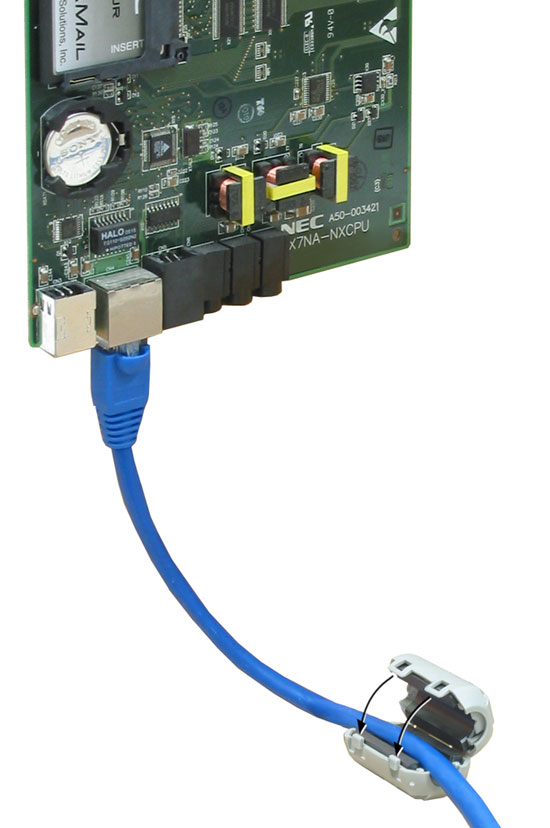
4. Installing the RFI Suppressor Assembly.
-
Install the RFI Suppressor Assembly provided with the VoIPDB on the system ethernet
cable.
-
The suppressor
must
be mounted inside the cabinet and as close to the CPU Card as possible.